Help Documentation: Installing and Using the QuickBooks EazyConnect
1. To install “QuickBooks EazyConnect”, visit the App Marketplace.
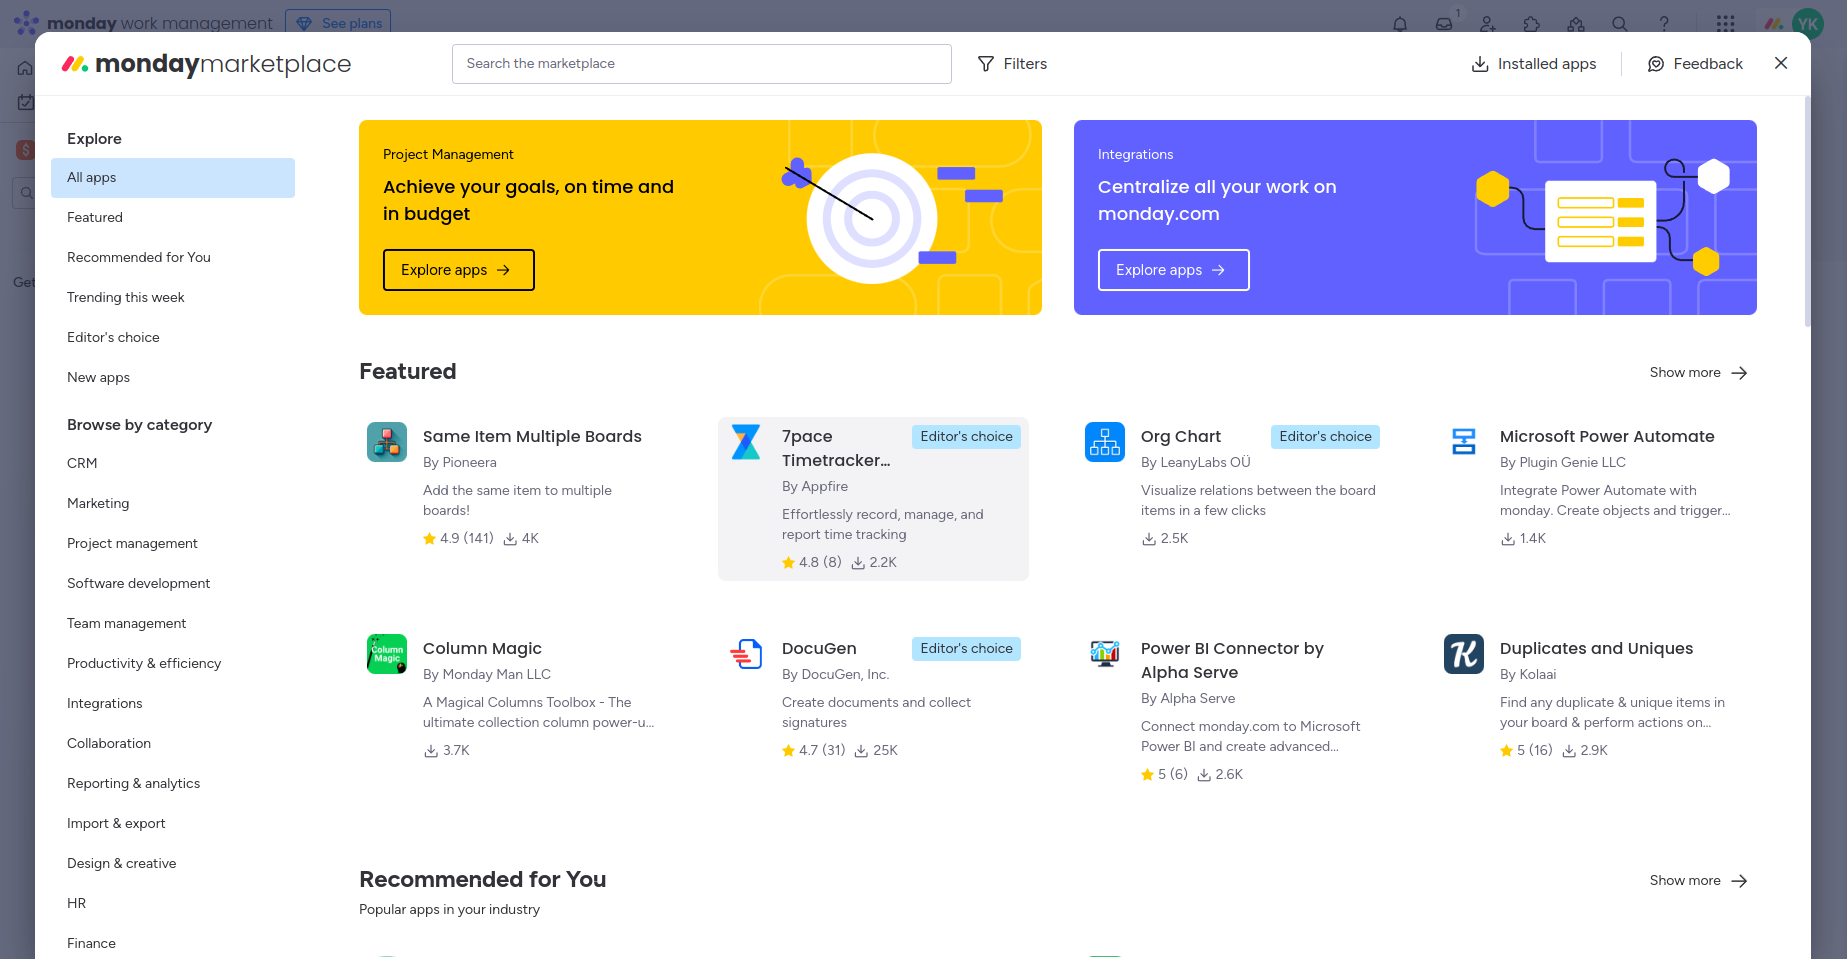
2. Search for the app using the name “QuickBooks EasyConnect”.
3. When you get this app, it appears like this:
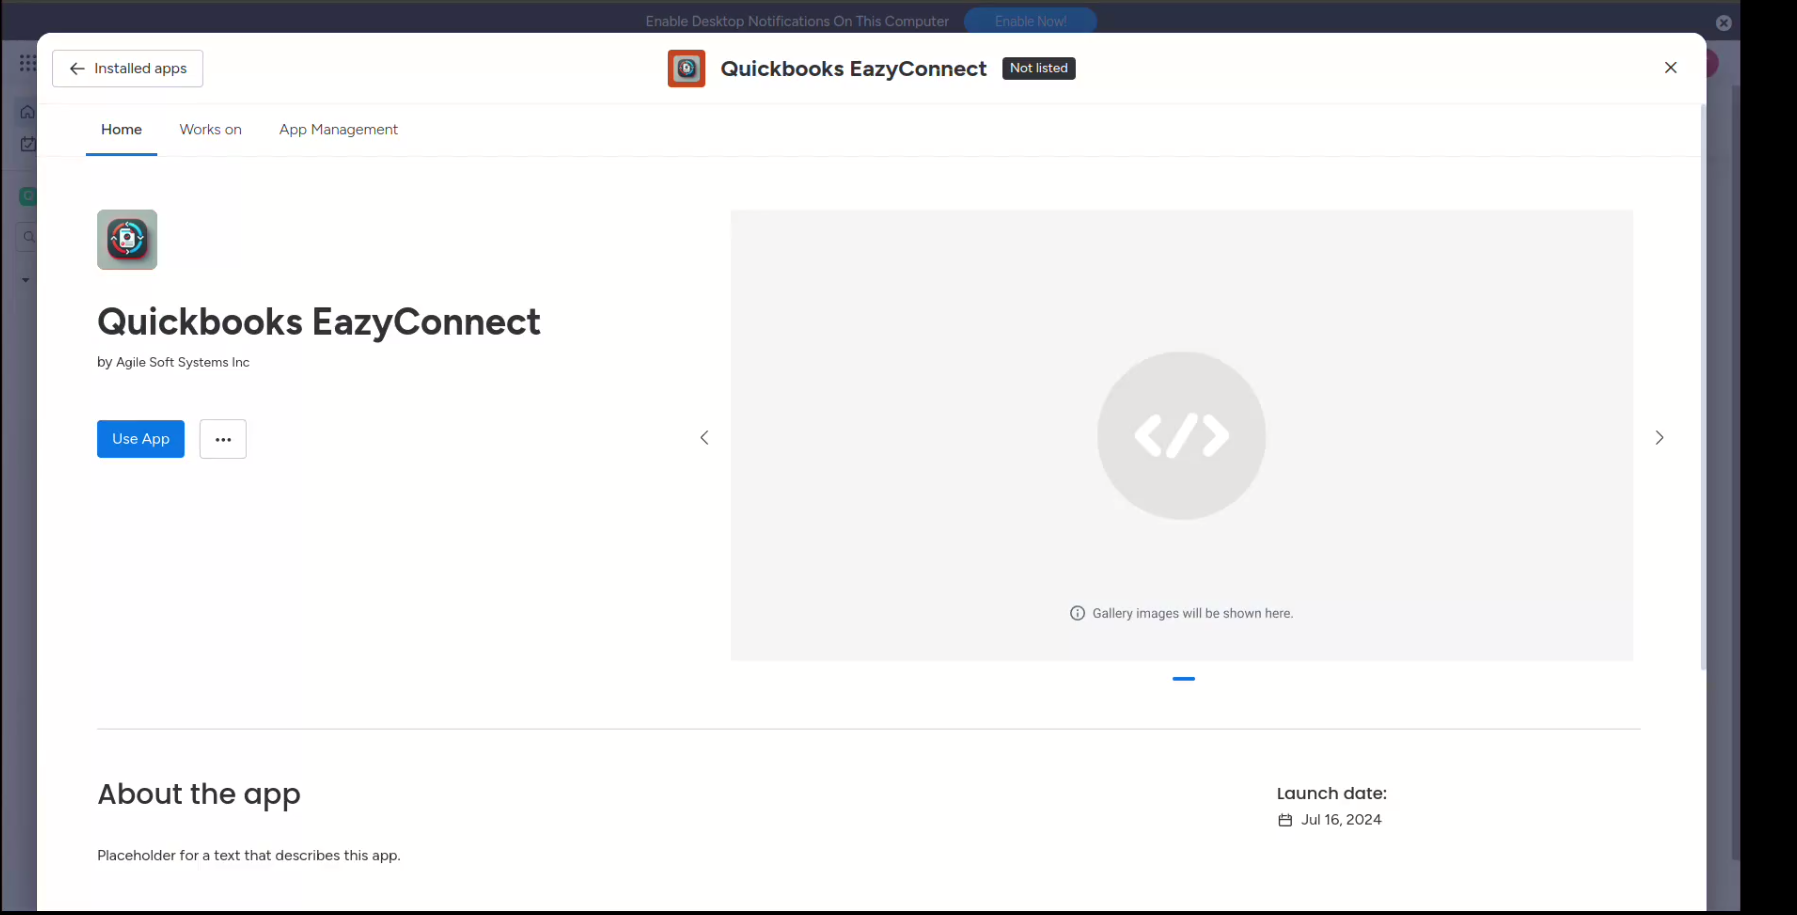
4. Go through the “Use App”.
5. Then select “Start with Templates”.
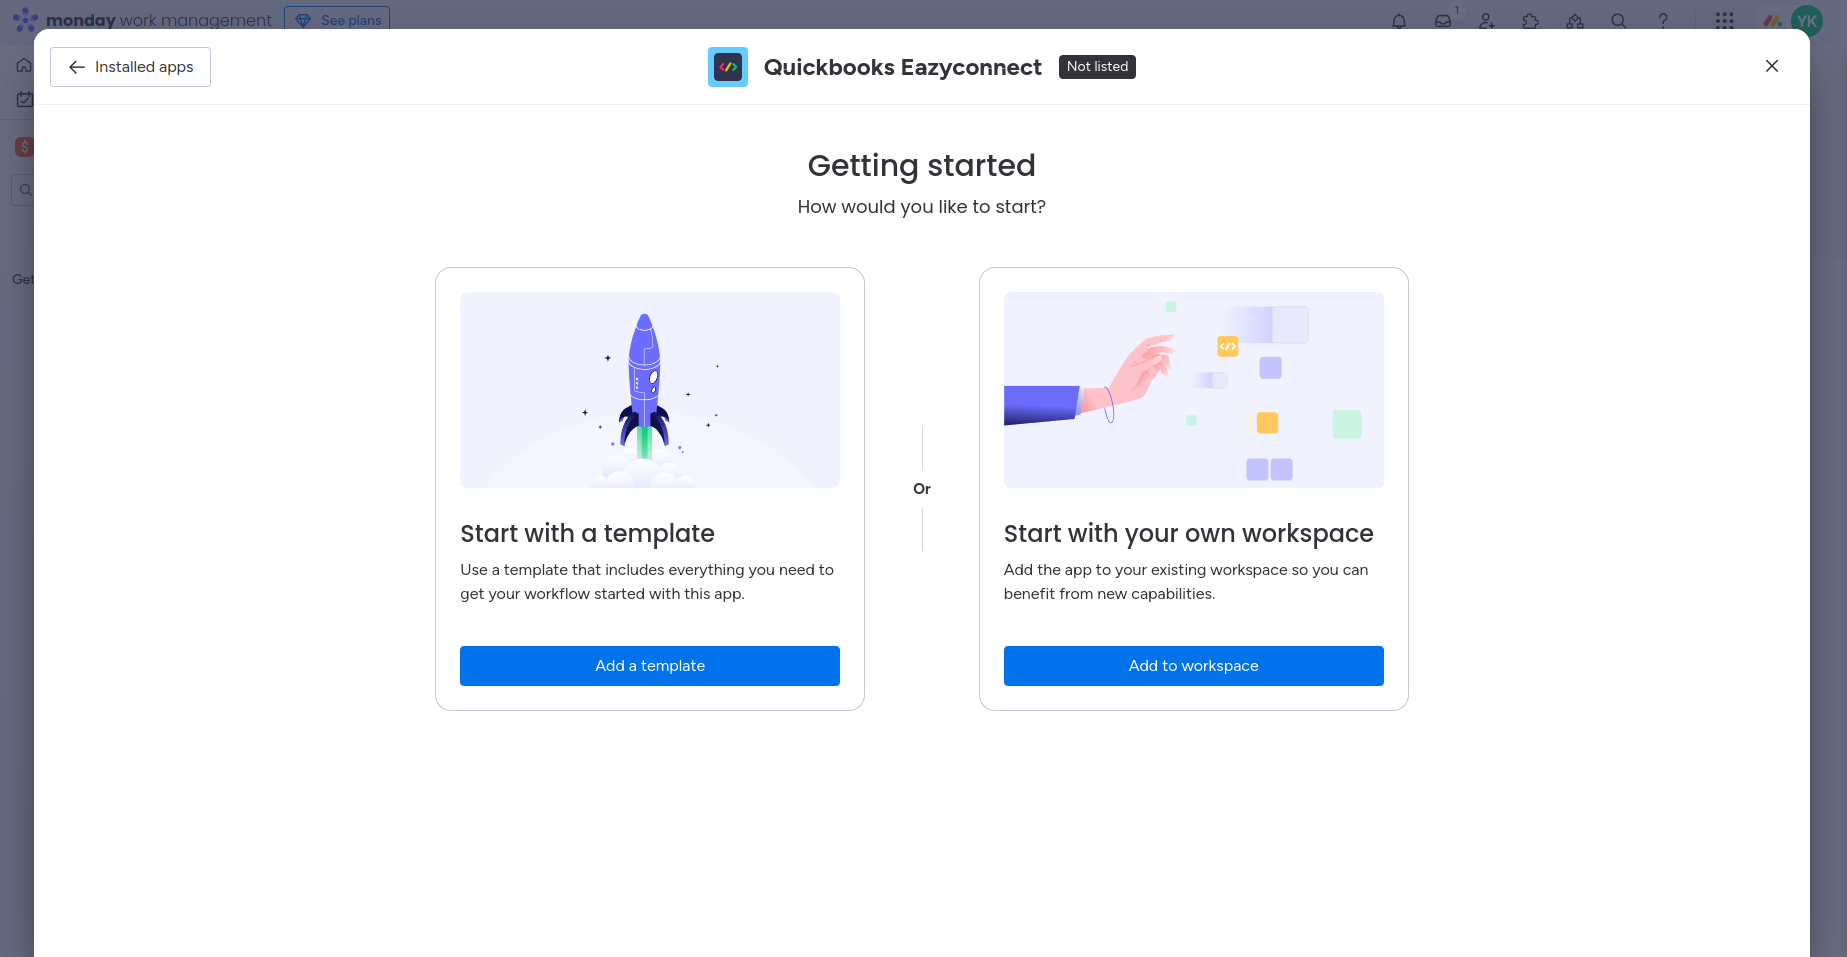
6. Then choose “Workspace”.
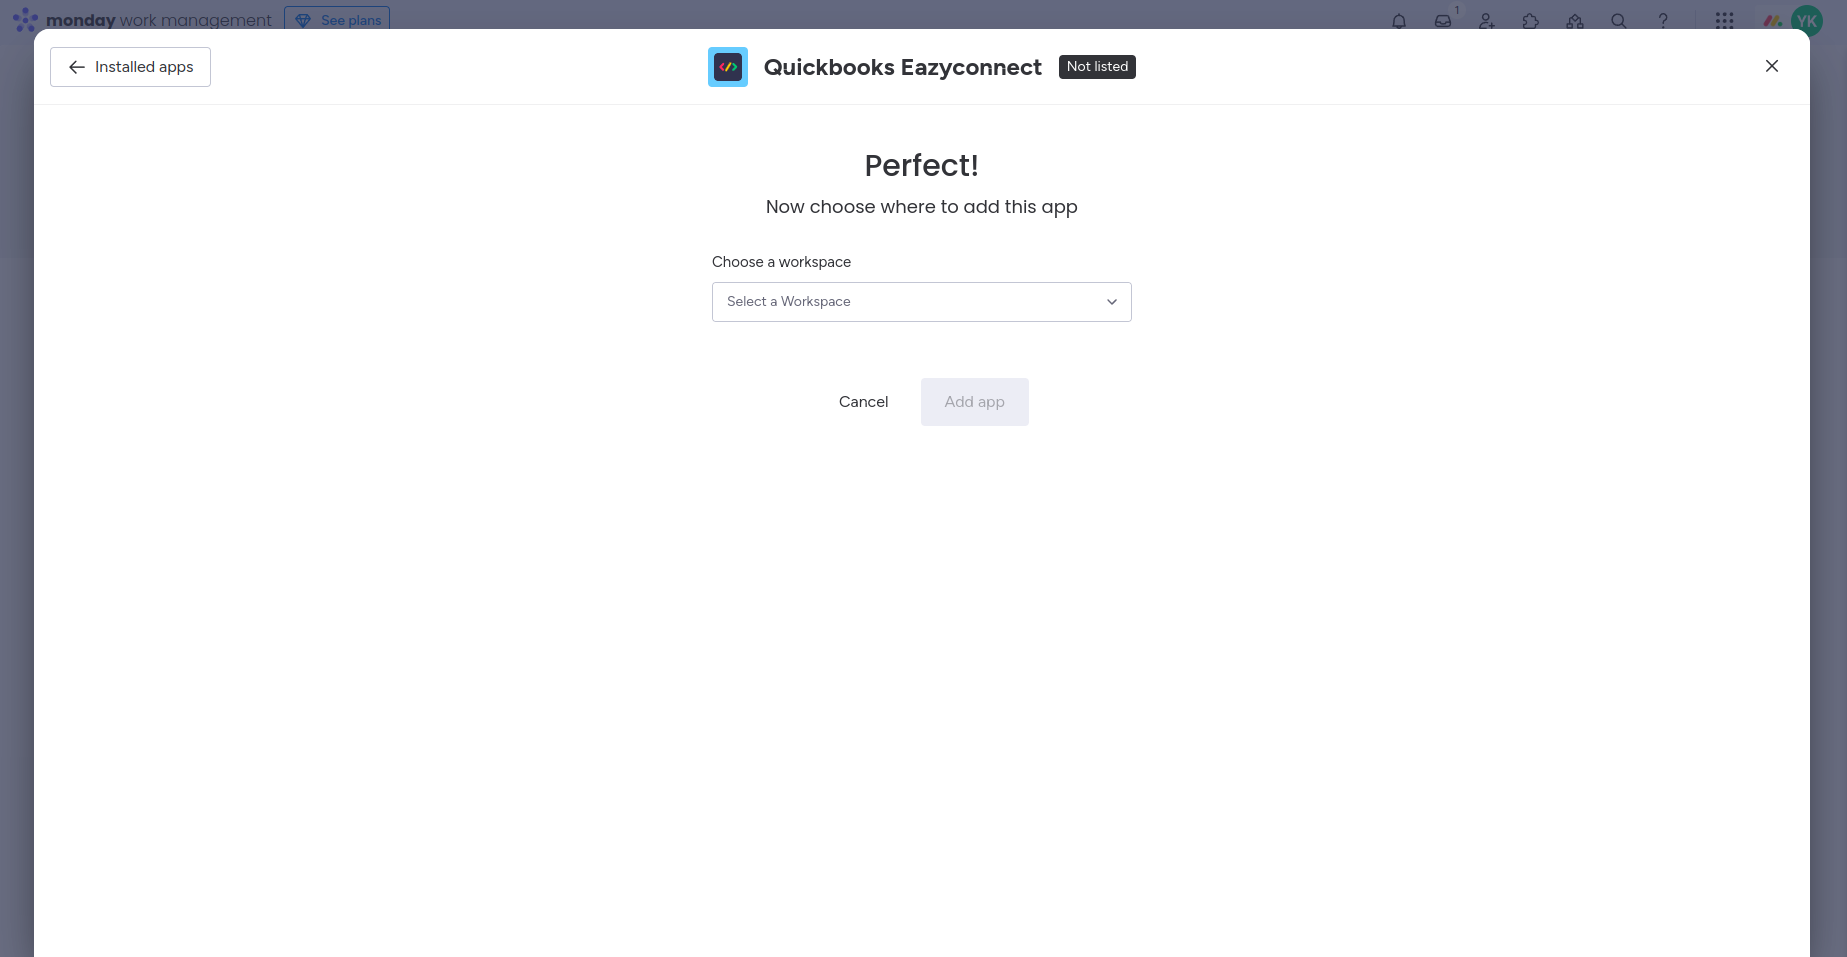
7. After selecting “Workspace” add the app.
8. After installing the “QuickBooks Easy Connect” app, you will see the following.
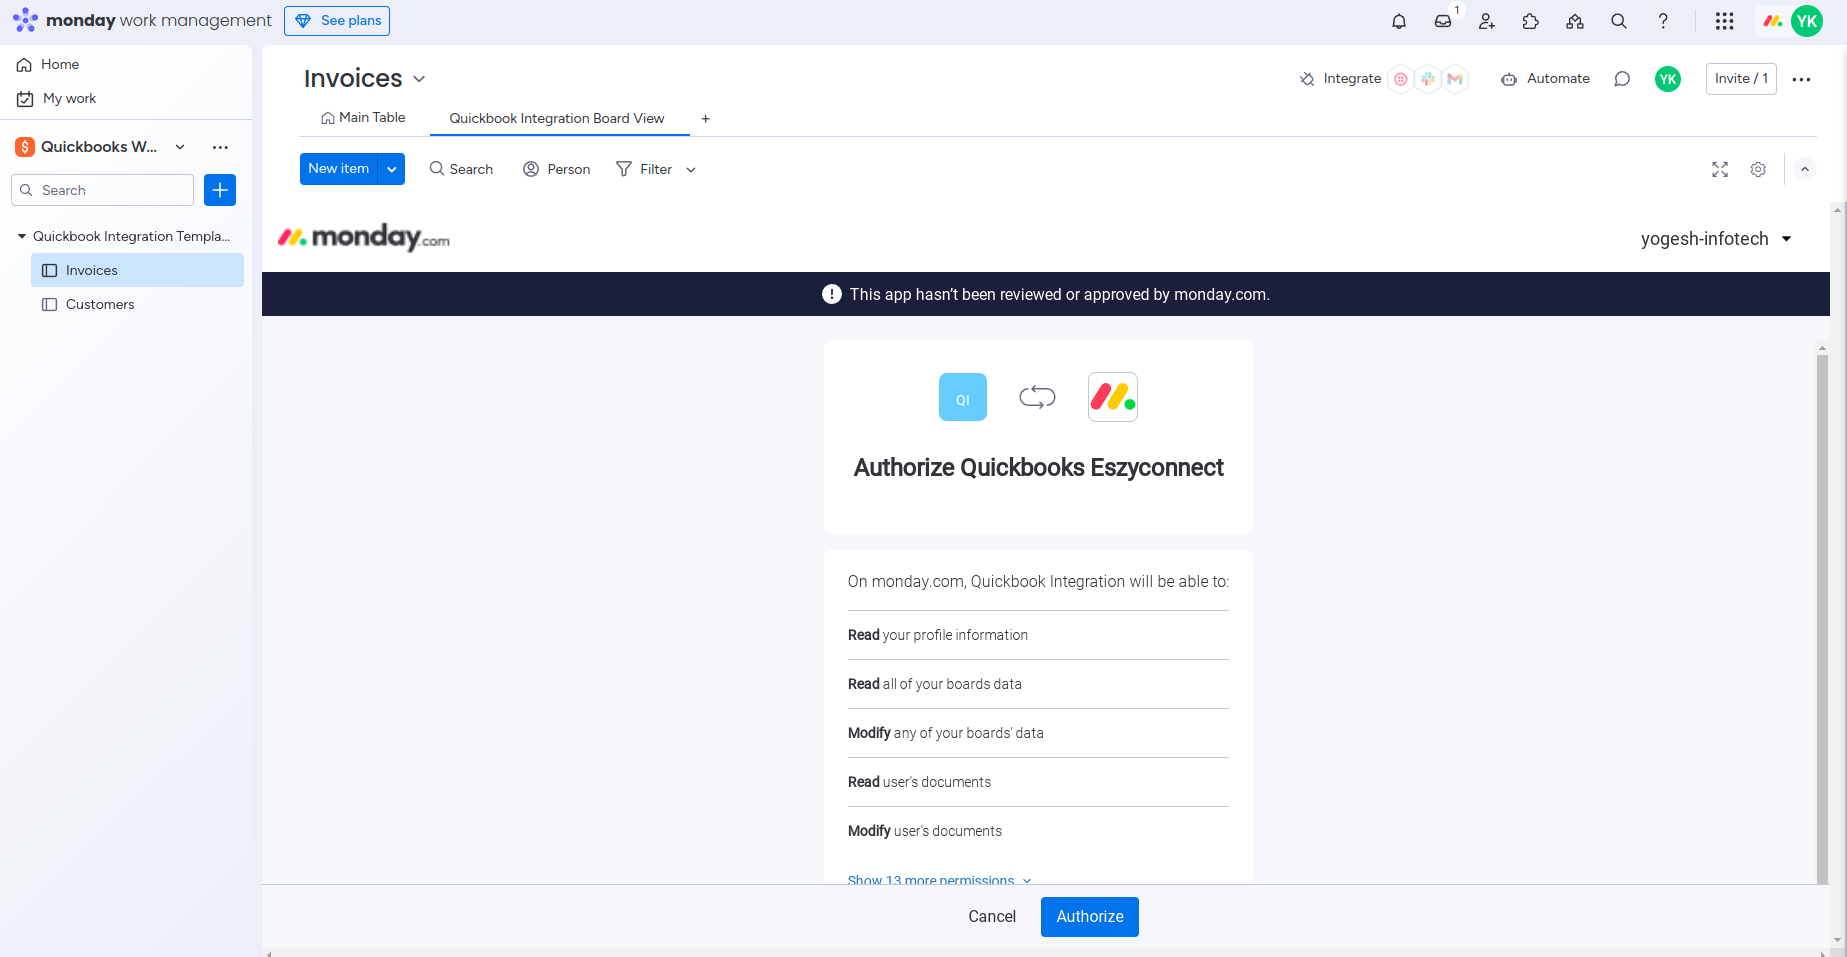
9. Then authorize it.
10. Then authorize the connection to your QuickBooks account.
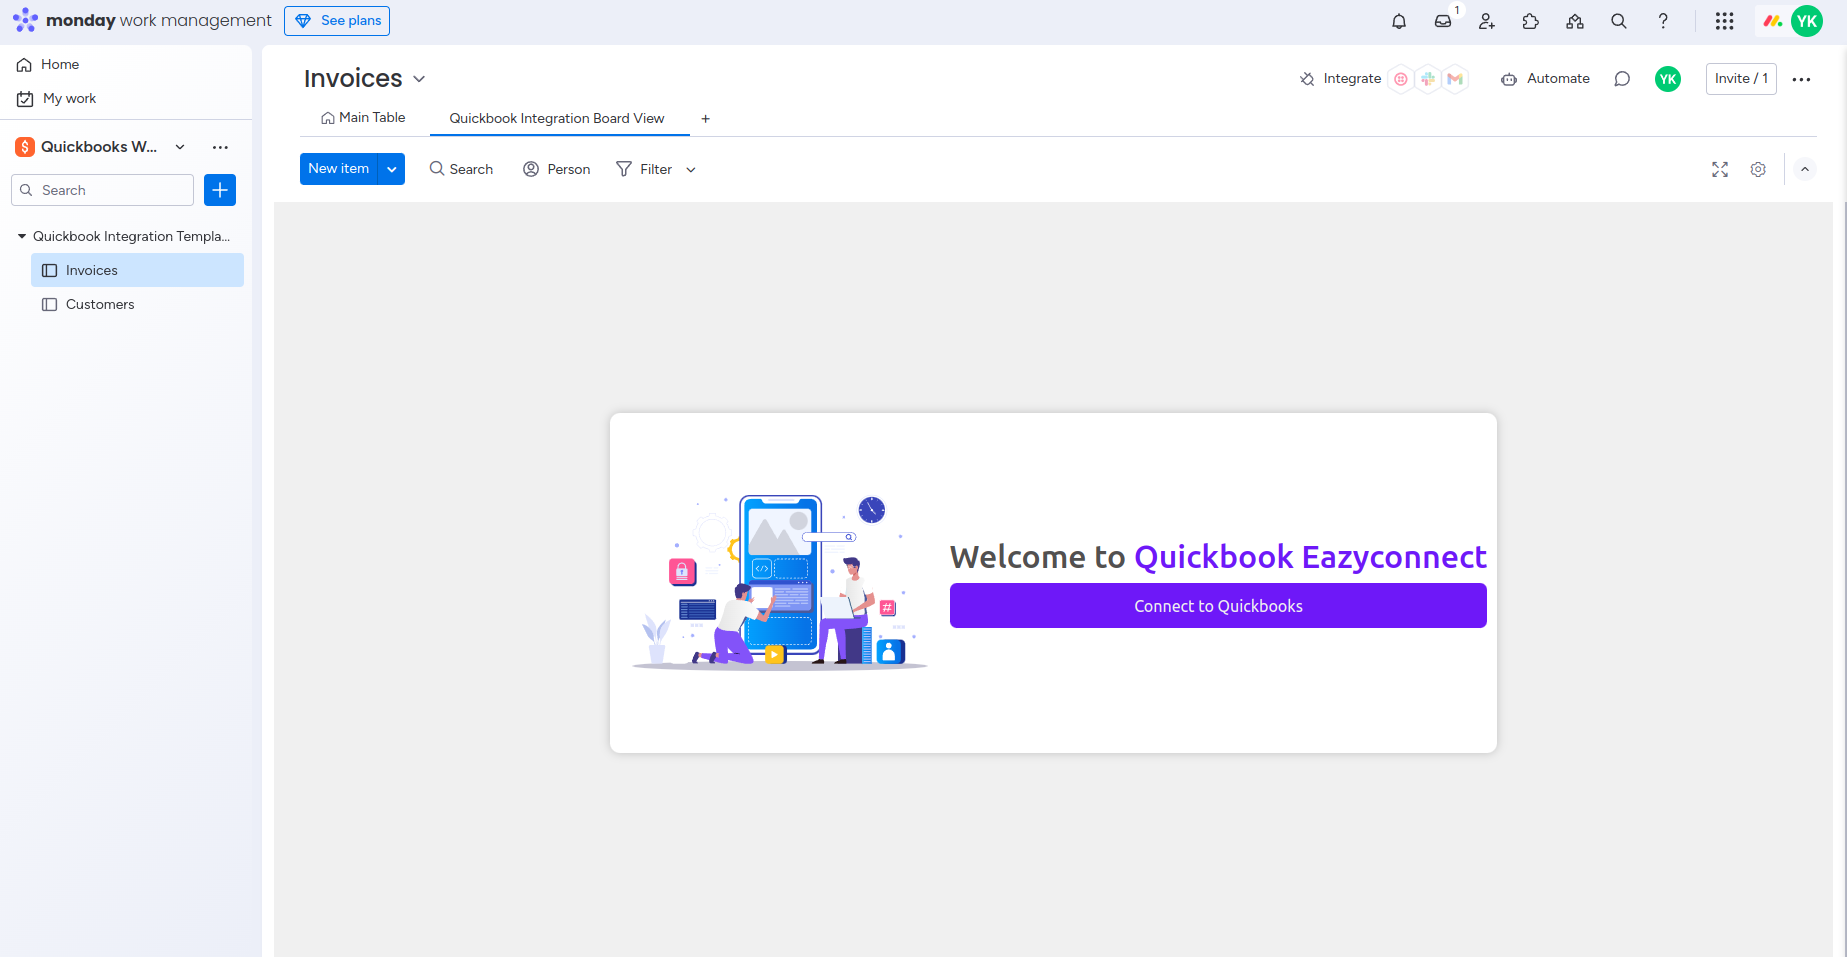
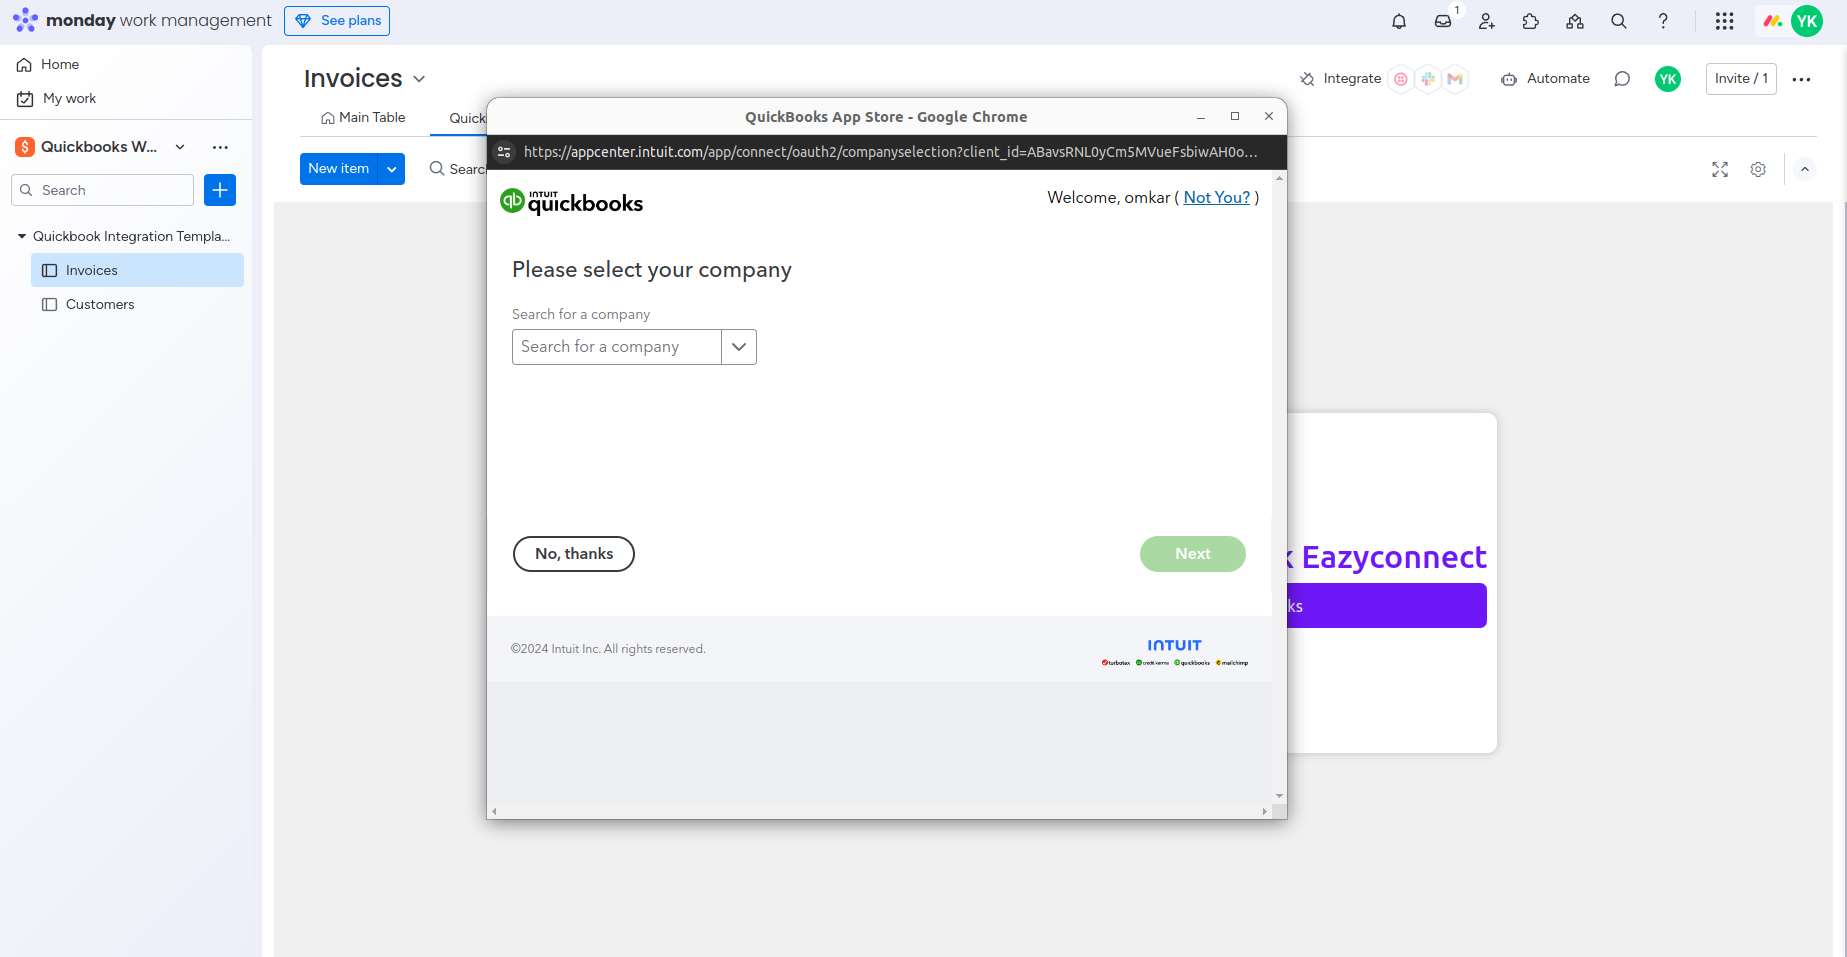
11. After that, you will be prompted to enter your credentials, such as your username and password, to connect to your QuickBooks account. Once connected, you can access the sync settings for invoices and customer lists.
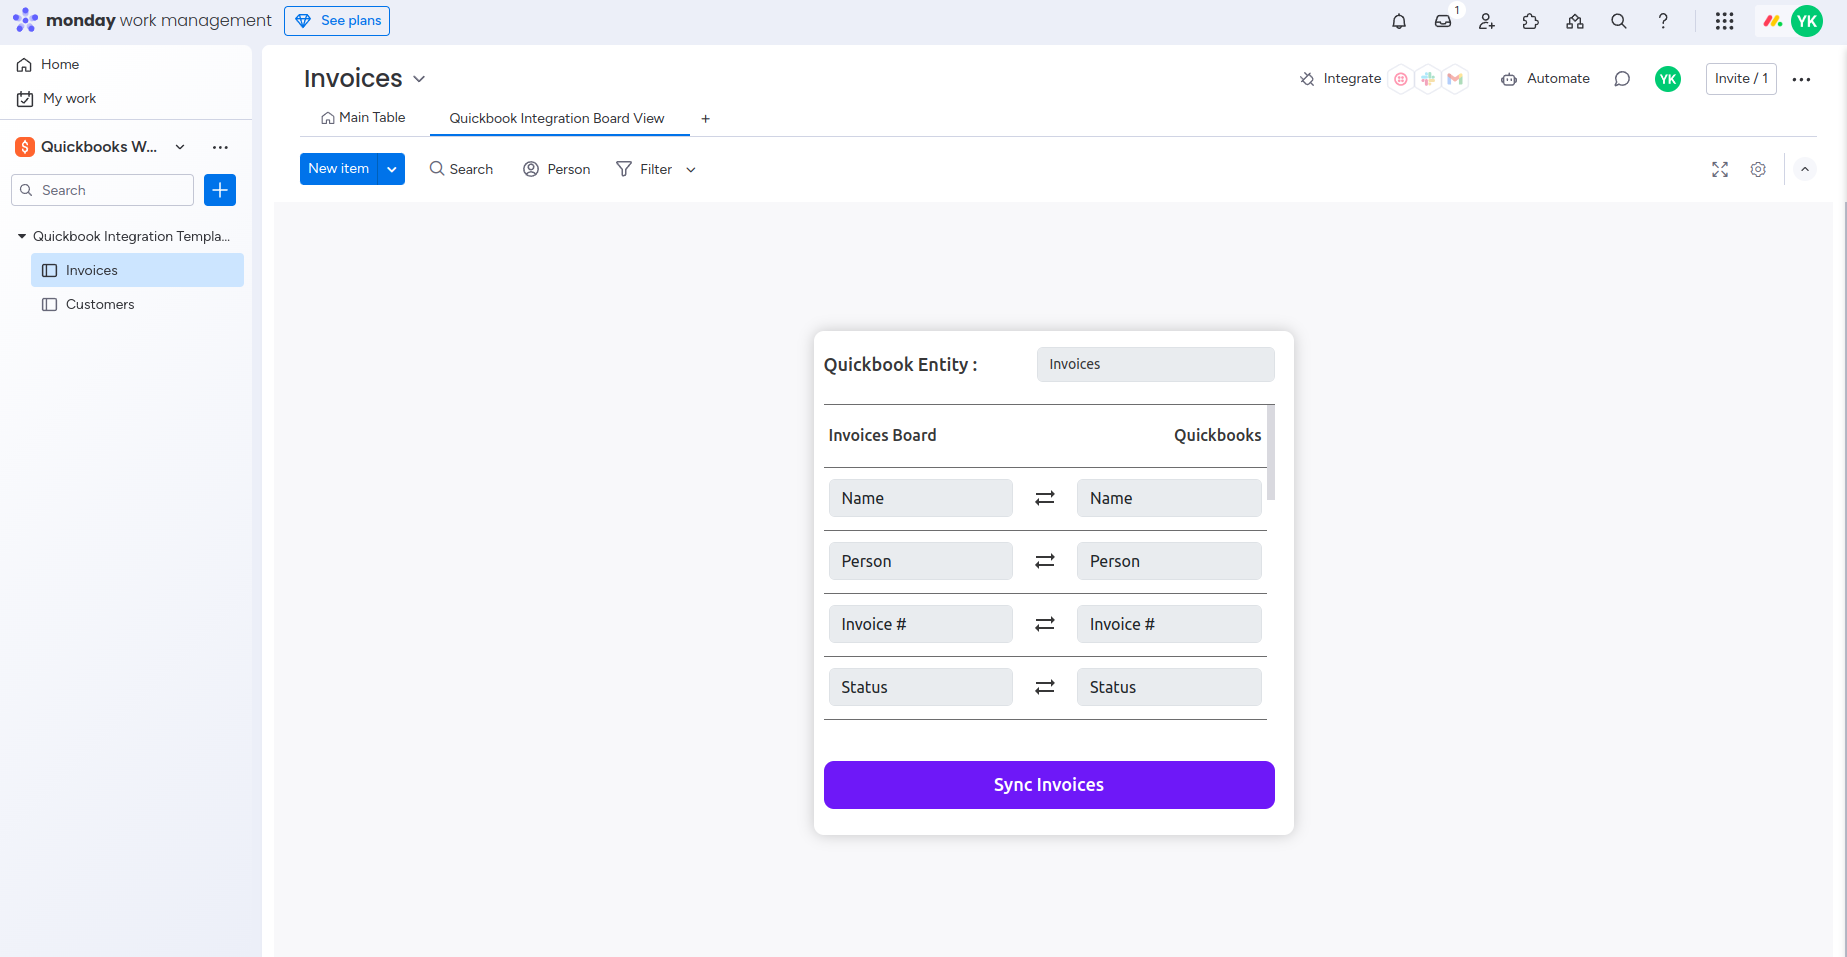
12. Sync options depend on the boards, such as Invoices and Customers.
12.1 Invoice Details Synchronization:
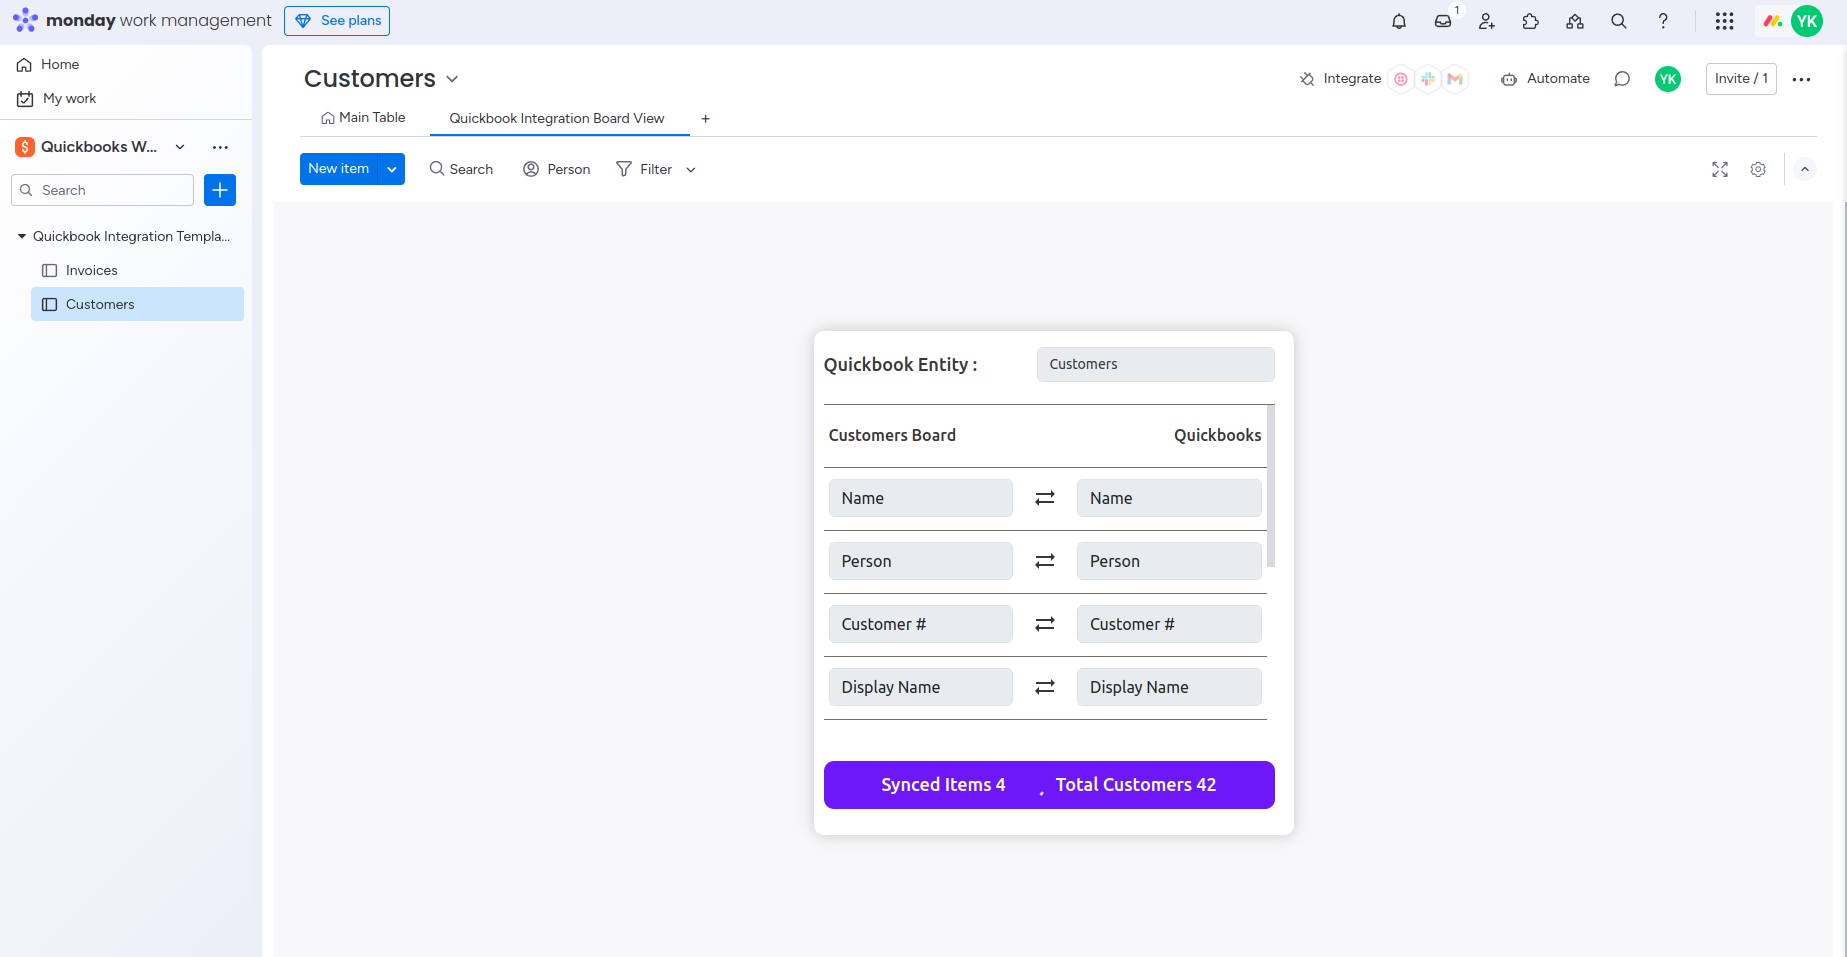
12.2 Customer Details Synchronization:
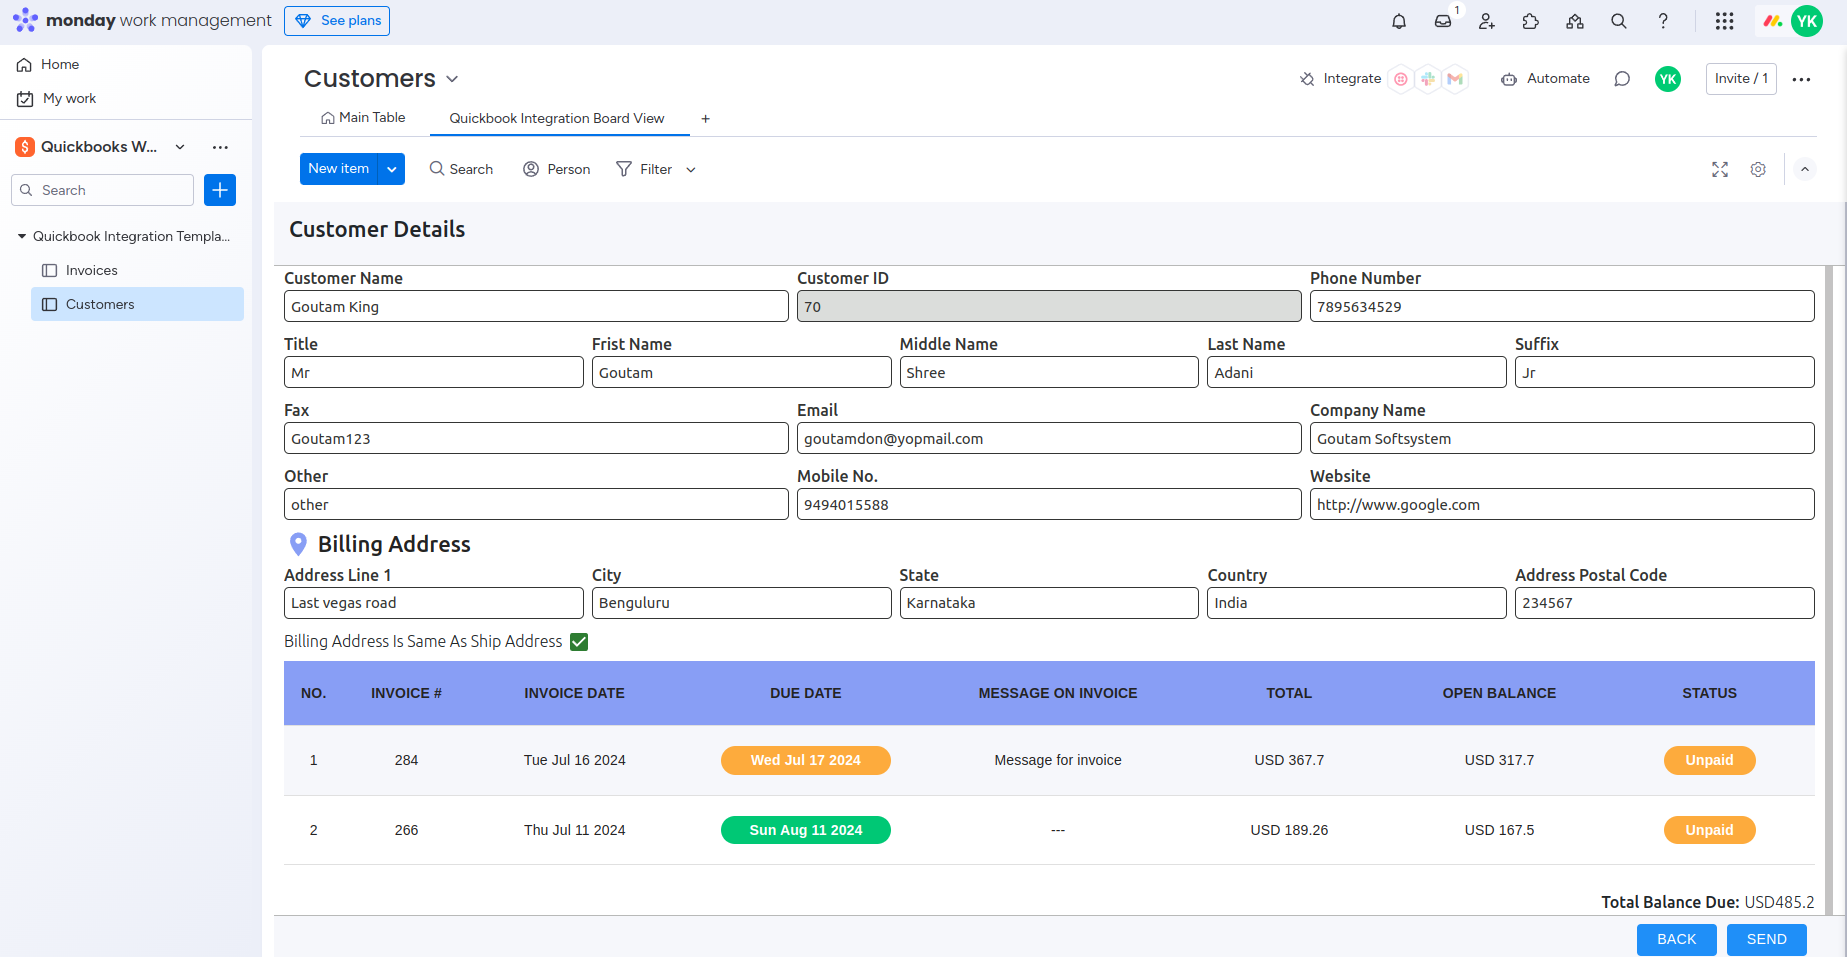
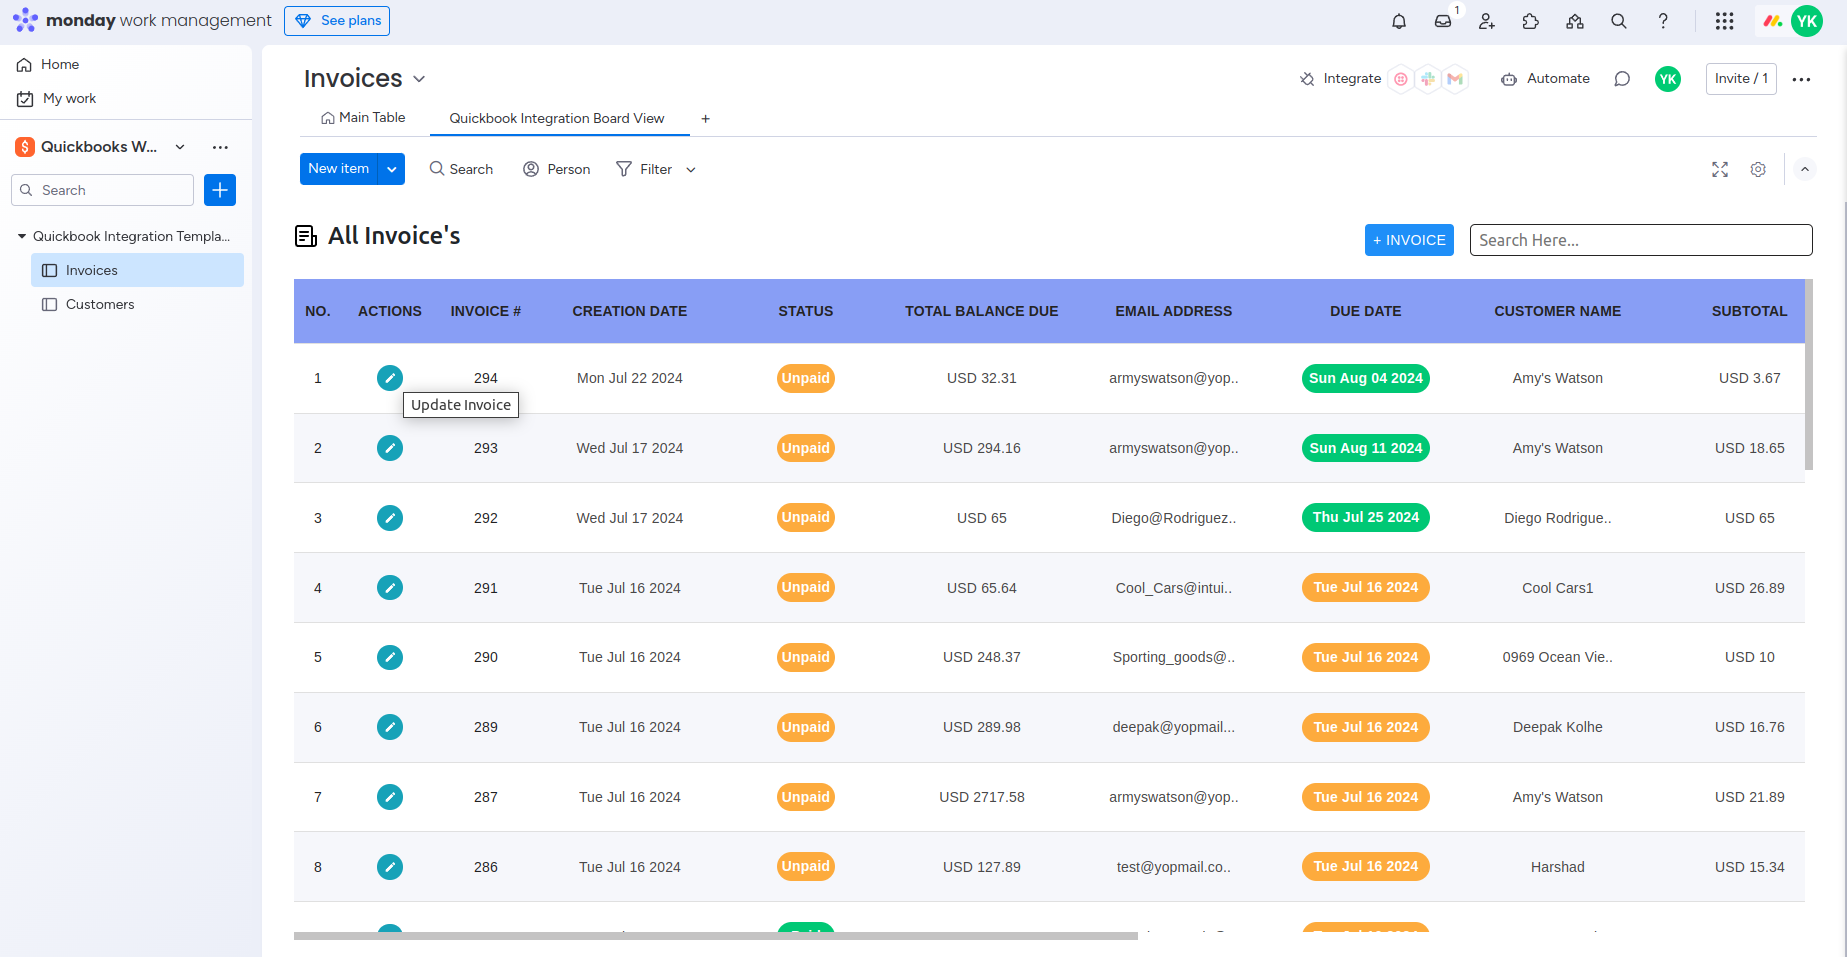
13. After syncing all details of invoices, the board view will appear as follows:
13.1 Invoices listing will appear as follows:
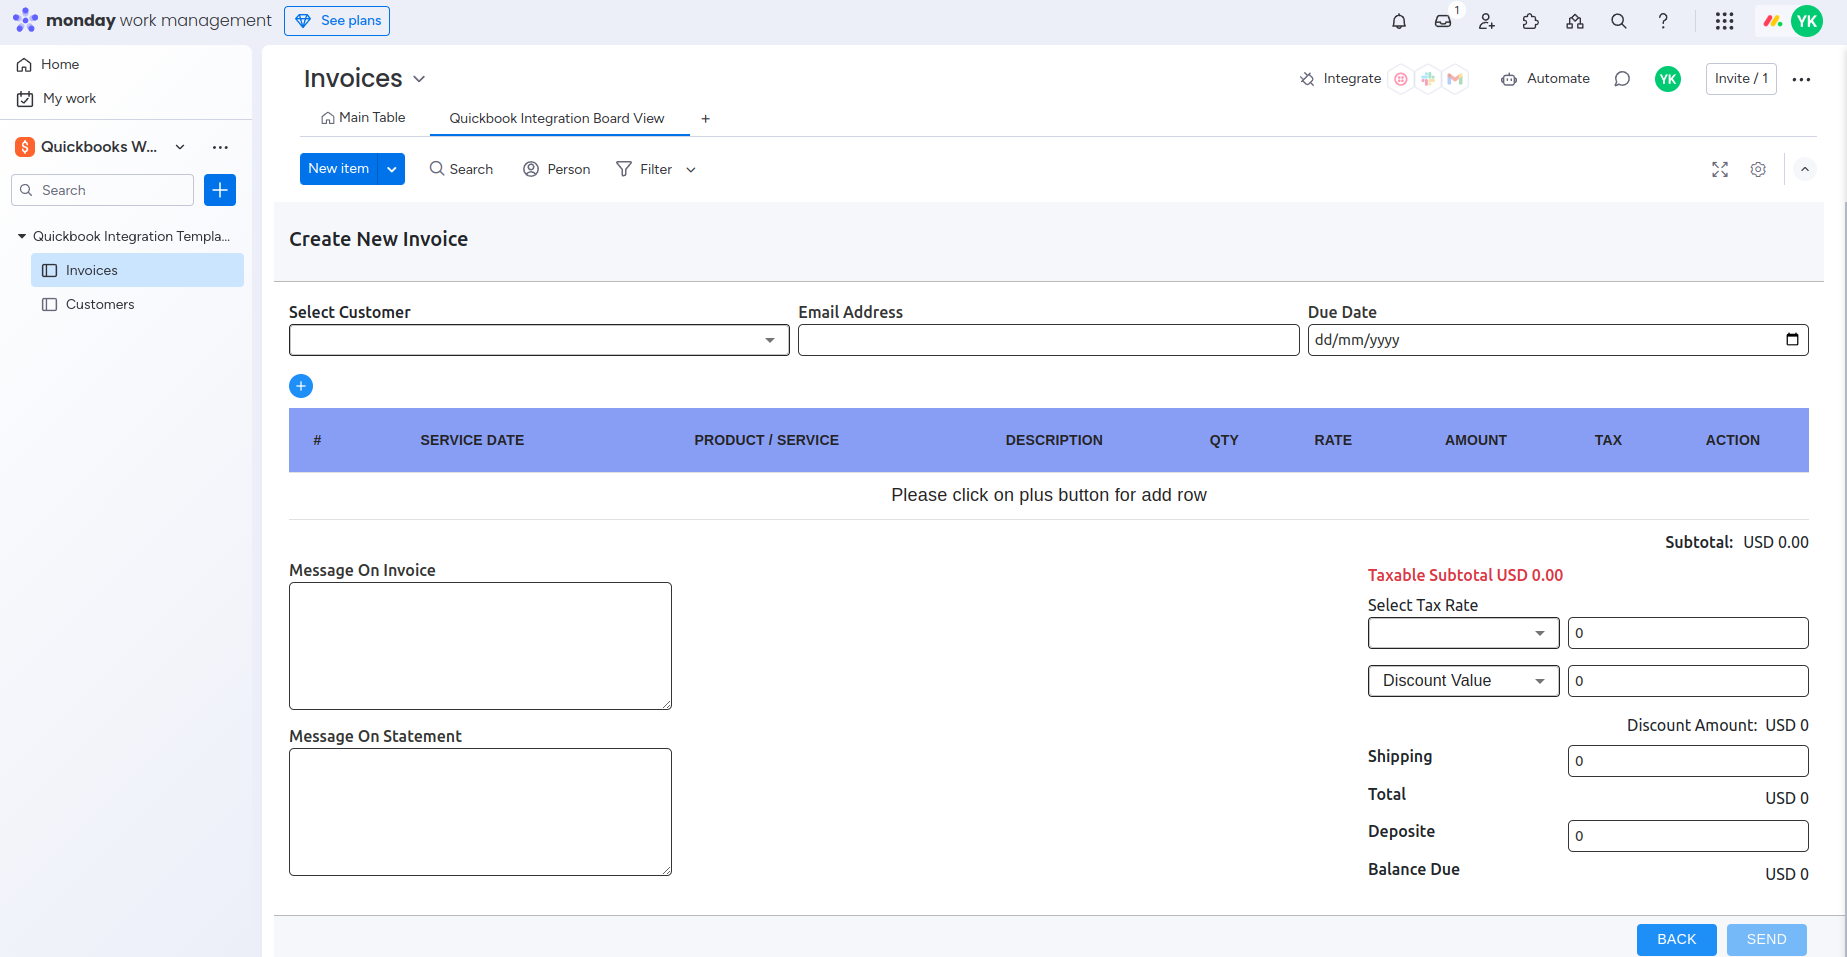
13.2 To create an invoice, follow these steps:
- Click on "+ INVOICE" and fill in all the required details.
- First, create or add a new row in the table, then enter the details such as quantity, rate, and select the product or service. Include tax and service date.
- Add the tax rate, discount value, shipping amount, and any applicable discount amounts.
13.3 To update an invoice, follow these steps:
- Locate the invoice you wish to update.
- Click on the "Edit" option into the invoice board view.
- Make the necessary changes to the invoice details, such as quantity, rate, product or service, tax, and service date.
- Adjust the tax rate, discount value, shipping amount, and any other relevant fields as needed.
- Save the changes to update the invoice.

14. After syncing all details of customers, the board view will appear as follows:
14.1 Customers listing will appear as follows:
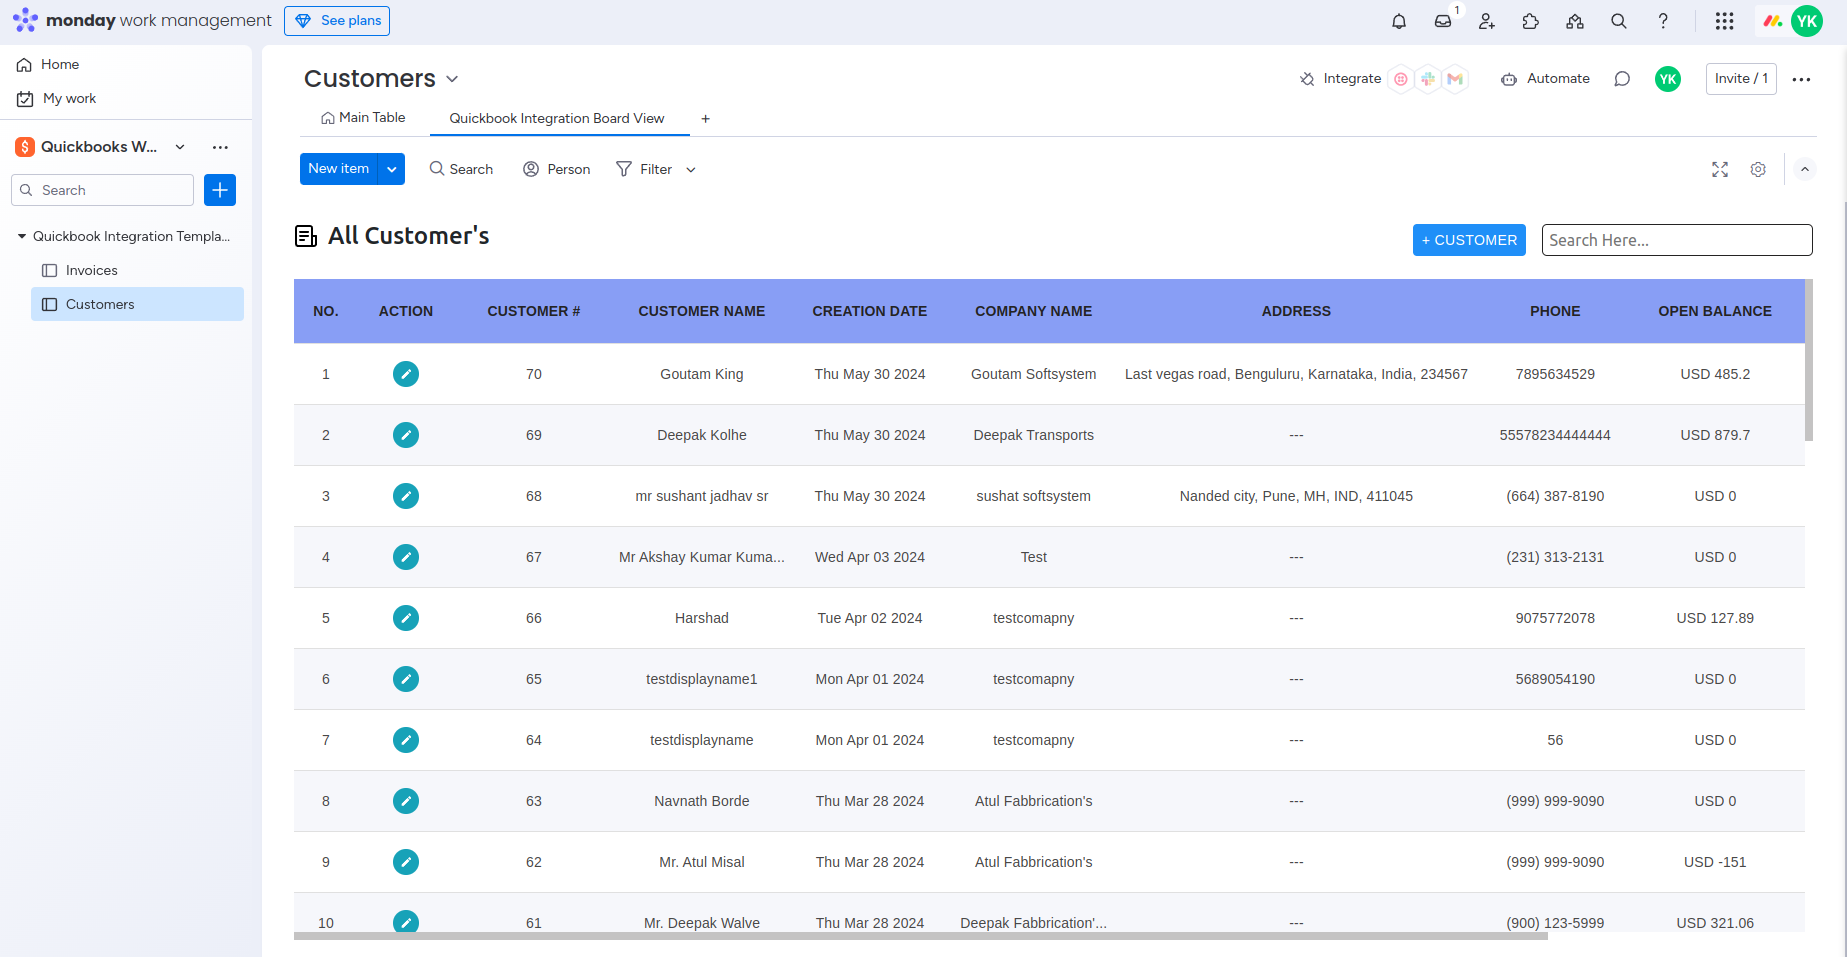
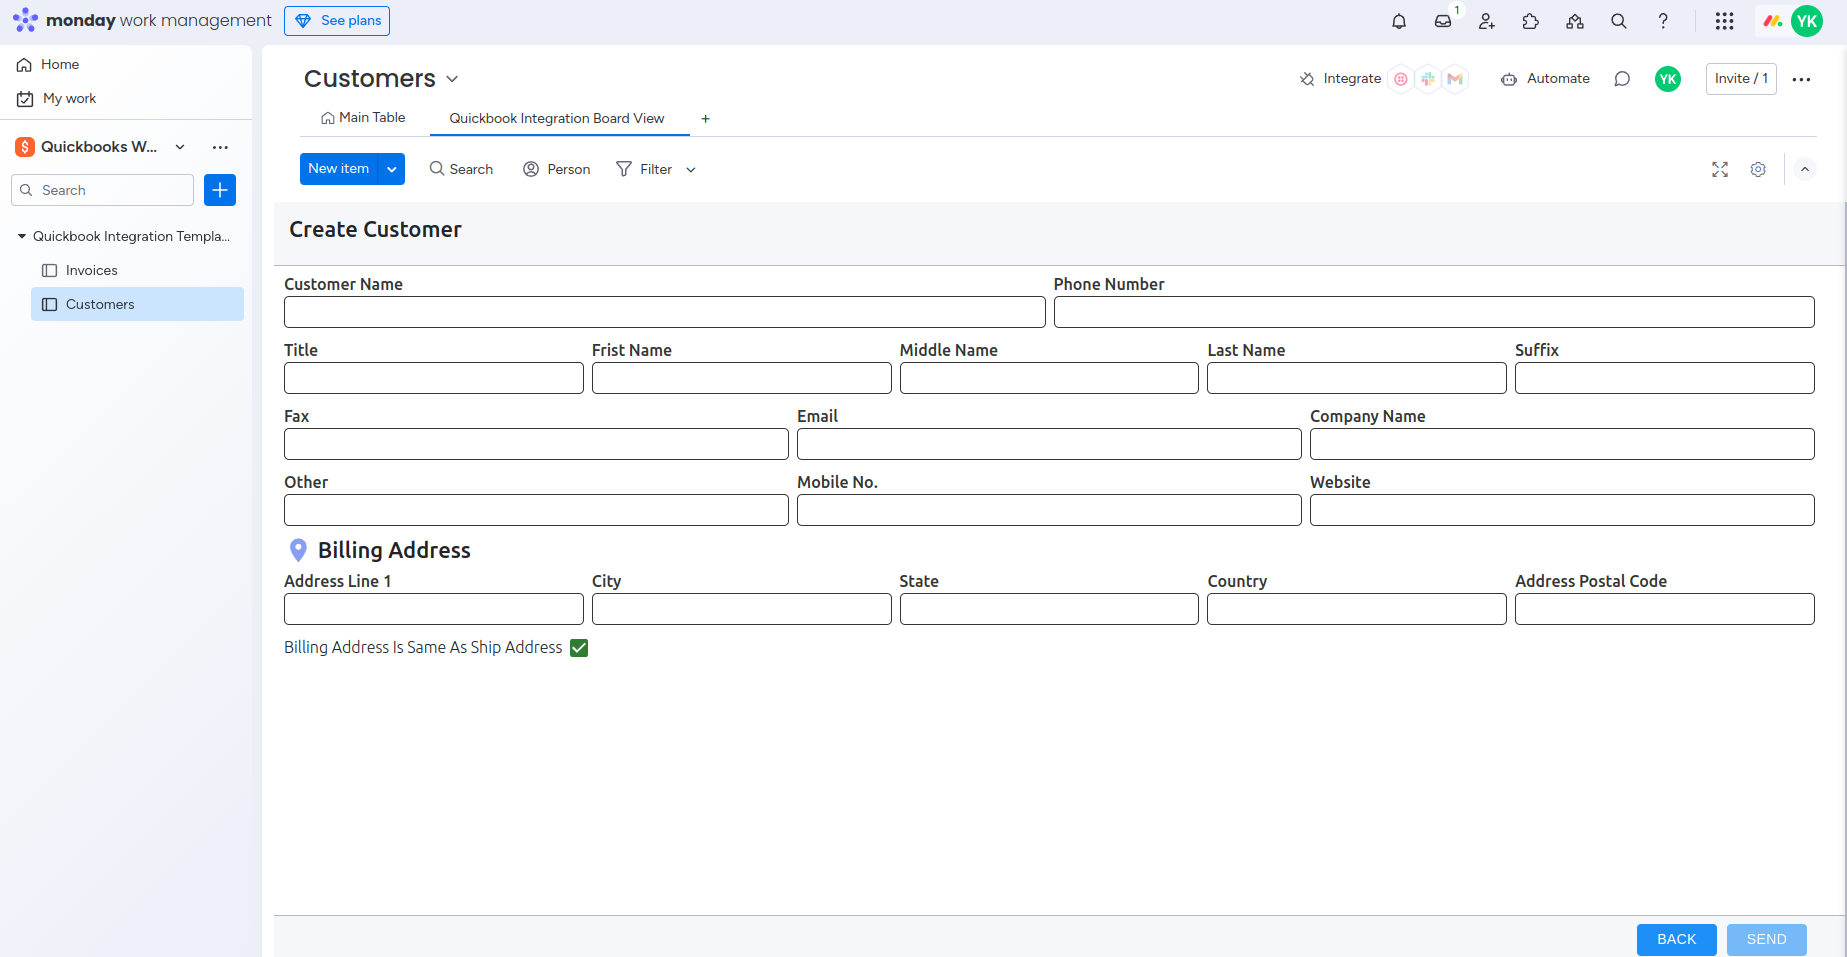
14.2 To create a customer, follow these steps:
- Click on "+ CUSTOMER" and fill in all the required details.
- Enter the new customer's name and other relevant information.
14.3 To update a customer, follow these steps:
- Locate the customer you wish to update.
- Click on the "Edit" or "Update"button.
- Make the necessary changes to the customer's details.
- Save the updates to apply the changes.
- You can view only that customer's invoice list.